Hardlopen gebeurt in de heupen
Bij Running Solutions hebben we veel ervaring in het werken met top marathonlopers. Als je kijkt naar Wilson Kipsang of Dennis Kimetto tijdens hun marathons kan je meteen zien dat zij een andere loopstijl hebben dan de meeste recreatie lopers. Ze vliegen over het asfalt alsof ze de grond bijna niet aanraken. Het lijkt wel alsof ze moeiteloos ruim 20 km/u lopen.
We krijgen vaak de vraag van lopers hoe ze beter kunnen lopen en ze vergelijken zich dan met deze toplopers. Wat is het grootste verschil in looptechniek en wat kan je zelf doen?
Vaak hoor je dat je moet focussen op de voetlanding, want toplopers zouden meer op de midfoot landen. Dit zou dan vertaald moeten worden naar de recreatielopers. Echter is dit niet het belangrijkste verschil en wij geloven erin dat voetlanding nooit de focus moet hebben in je training. Voetlanding is een gevolg van het verbeteren van andere variabelen, een hoge pasfrequentie of goede heupstabiliteit.
In dit artikel gaan we focussen op wat de heup moet doen tijdens het hardlopen en hoe je dit zelf kan trainen. De stabiliteit van je hele lopen begint in de romp/heup en niet in de voet. De voet is pas het einde van de keten en niet het begin.
Maar waar gaat het mis?
Tijdens het hardlopen worden veel krachten van de benen naar de romp overgebracht en visa versa. Deze krachten komen allemaal langs de heup. Veel hardlopers kunnen deze krachten niet goed overbrengen door de manier waarop zij het lichaam gebruiken. Ze hebben bijvoorbeeld onvoldoende bewegelijkheid in de heup of een slecht ontwikkeld lichaamsgevoel waardoor ze weinig controle hebben over de manier van bewegen.
Als dat het geval is kan de heup dus niet zijn functie uitvoeren voor stabiliseren van het lichaam en kan je geen voorwaartse kracht leveren. Als gevolg van dit verlies ga je compenseren in je beweging en neemt de kans op blessures toe.
Voor je kan verbeteren moet je voelen!
Het begint allemaal bij voelen hoe je lichaam werkt. Je moet voelen welke spieren actief zijn of juist niet. En welke functie voeren de spieren uit? Als je bewust bent van de spieren kan je ze ook gaan gebruiken. Om inzicht te krijgen in je houding en of je de spieren goed gebruikt kan je de volgende test doen:
Verticale compressie test:
Tijdens het staan, laat iemand achter je staan met handen op je schouders. Laat deze persoon je recht naar beneden duwen. Als je inzakt in je onderrug of heup betekent dit dat je heupen uit balans zijn en je een slechte houding hebt.
Je kan het inzakken tegengaan door je houding te verbeteren. Je doet dit door de volgende stappen te volgen:
1. Zet je voeten op heupbreedte en verdeel het gewicht evenredig over de voorvoet en hiel, 2. Zet je knieën niet op slot, 3. Kantel je bekken licht achterover waardoor je de middenstand van het bekken aanneemt. 4. Til je borstbeen iets op, 5. Strek je lichaam op in de lengte.
Als je dit goed hebt gedaan sta je nu rechtop en zal je niet meer inzakken in de rug/heup bij de verticale compressie test.
Heb je moeite met deze oefening? Probeer dan eens te beginnen met een liggende bekkenkanteling. Deze voer je als volgt uit.
Bekkenkanteling:
Ga liggen op de rug met je knieën gebogen en je voeten op de grond. Kantel nu je bekken naar achter, hierbij word de onderrug in de grond geduwd. Kantel vervolgens je bekken voorover, hierdoor is de onderrug hol. Herhaal de beweging 10 keer.
Welke bewegingen en spieren zijn beperkt?
Dit moet je net als je houding testen! In dit artikel beperken we ons even tot de bewegelijkheid van de heup. We testen dit met de volgende test:
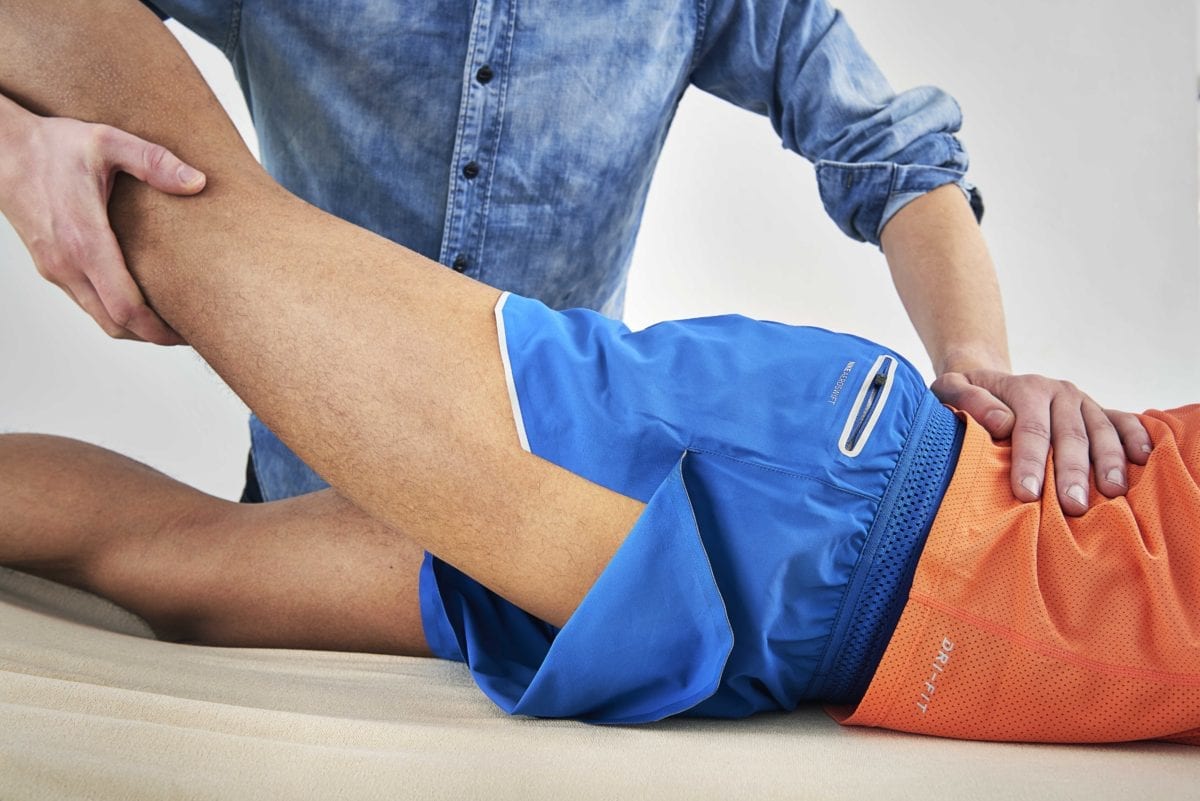
Thomas test:
Uitvoering: Ga liggen op de rug, trek een van de knieën naar je toe en laat de ander ontspannen liggen. De knie die je naar je toe trekt zou tot aan de ribbenkast moeten komen. De knie van het gestrekte been zou vlak op de ondergrond moeten blijven liggen.
Als 1 of beide bewegingen beperkt zijn is dit hoogst waarschijnlijk door te veel zitten. Dit zorgt namelijk voor verkorte heupflexoren en inactiviteit in de heupstrekkers. Als je de loophouding wilt verbeteren is de lengte van de heupflexoren en extensoren enorm belangrijk.
Vervolgens moeten we testen of je de heupstabilisatoren wel gebruikt. Dit doe je als volgt.
1-benige kniebuiging:
Ga op 1 been voor een spiegel staan, buig vervolgens door de knie tot ongeveer 100 graden in de knie en kom dan terug omhoog. Zie je de knie tijdens deze beweging zijwaartse bewegingen maken en/of zakt de heup in? Dan kan je ervan uitgaan dat je onvoldoende stabiliteit hebt in je heup!
Hoe ga je dit dan verbeteren?
Het is belangrijk om de zwaktes die je hebt gevonden met bovenstaande testen goed en met regelmaat aan te pakken. Je moet namelijk je patronen gaan veranderen. De enige manier waarop dat kan is met veel oefenen.
Om te beginnen is het belangrijk om de spierlengte in orde te krijgen. Hiervoor maken we gebruik van 2 oefeningen. Deze dien je dagelijks te doen.
- Lunge hipflexor stretch
Startpositie: Schuttershouding
Uitvoering: Houd de romp gestrekt terwijl je met het bekken naar voor en achter beweegt. De romp blijft de hele oefening recht. Hierbij is het belangrijk dat de beweging naar achter samengaat met de inademing en de beweging naar voren met een uitademing.
Herhalingen: 10 ademhalingen per zijde.
Video:
- Hamstring stretch
Startpositie: Liggend op de rug met 1 been gestrekt en het andere been met de knie naar de borst geheven dat je met beide handen vasthoudt.
Uitvoering: Strek het been dat naar de borst geheven is rustig tot rek in de hamstring voelbaar is. Kom dan rustig terug naar de gebogen positie. Hierbij is het belangrijk dat de strekking van het been gepaard gaat met een uitademing en het buigen van het been met een inademing.
Herhalingen: 10 ademhalingen per zijde.
Video:
Nu je bezig bent met spierlengte is het tweede gedeelte spieractivatie, en dan met name van de heupstabilisatoren. Dit doe je door het programma voor heupstabiliteit te volgen. Naast dat programma kan in een aantal simpele oefeningen in je dagelijks leven toepassen.
Tip 1: Sta met regelmaat even op 1 been met een licht gebogen knie. Bijvoorbeeld tijdens het tandenpoetsen of als je in de rij staat voor een kopje koffie.
Tip 2: Ga telkens als je gaat zitten op een stoel langzaam en gecontroleerd zitten als een squat. Is dit erg makkelijk? Doe het dan op 1 been!